Create your first repository on GitHub

I’m a Computer Science student, currently in the 3rd year of my Bachelor’s degree. I’ve been a huge tech savvy since my high school days. Used to read about all different types of emerging tech trough the times. Now, pursuing my studies in the same field gives immense happiness to me. ✨
I’m learning Web Development (HTML, CSS, JS, React, Node) and various other tools to complement this skill. Moreover, practicing Data Structures & Algorithms on a regular basis to improve my problem solving skills. 💻
Technical Blogging is something I’m loving lately, I get to share things I’m learning which not only helps me but many others who read those blogs. I believe everyone should do this practice as a developer or in any other domain. ✍🏻
How do I get my Code on GitHub?
Let's now talk about how can we can take our local git repo on our machine & how do we connect them in some way to a hosted GitHub repo.
- How do we connect them
- How do we set up the repo on GitHub
- What do we do to tell our local machine about our GitHub repo.
There are majorly 2 approaches to do this!
Option 1: Existing Repository
If we already have an existing repo locally (ie... on our machine) that we want to get on GitHub, these are the steps to follow:
Step-1: Create a new repo on GitHub.
If we recall from the previous blog, we made a local repository named ProjectOne (or any other if modified) using the git init command.
we'll push this existing local repo onto GitHub.
Let's make an empty GitHub repo first:
Go to your github profile, Click on the
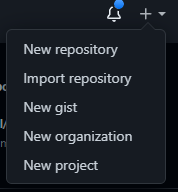
Newbutton on the top left side of the screen.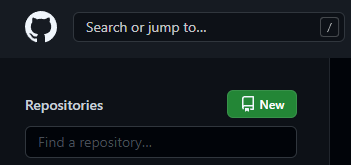 or click on the + button on the top right corner of the screen
Then, give your repository a name. I'm creating it by the name
github-demo-one& I'm keeping it public.
I'm not giving it any description & a README file though we should prefer giving repos a description & a README file if we plan on collaborating with people or just in general as well. It's a good practice.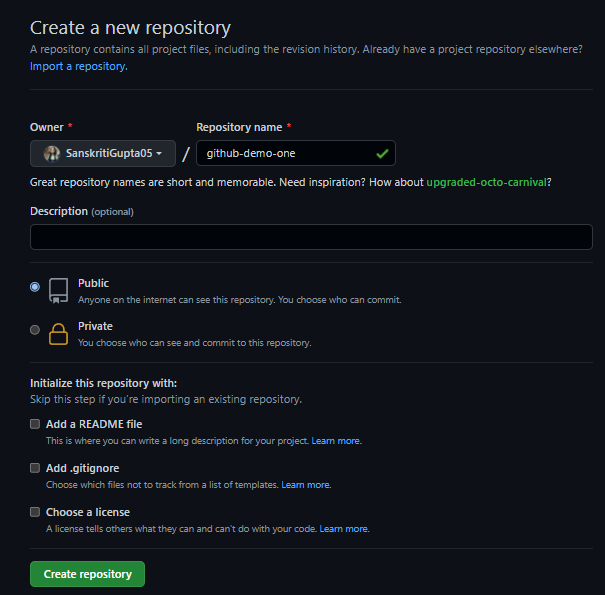 Now, click on
 Create repository. It must be looking something like this 👇 (with your own username)
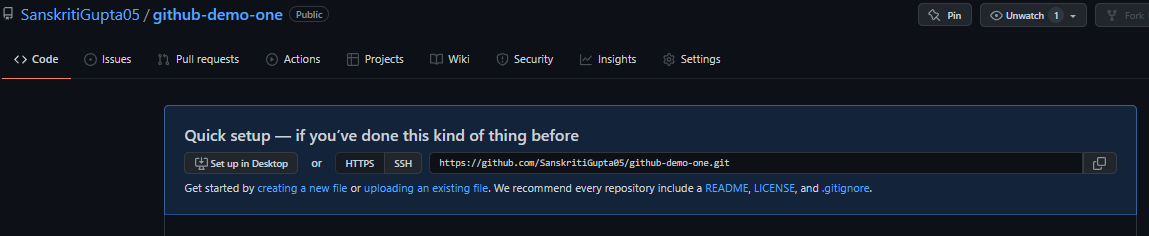
Step-2: Connect your local repo (add a Remote)
Alright! Before we can push anything up to GitHub, we need to tell Git about our remote repository on GitHub.
- We need to set up a "destination" to push up to. In Git we refer to these destinations as "Remotes".
Each remote is simply a URL where a hosted repository lives.
Command to view any existing remotes in our repo:
$ git remote -vLet's first get into our existing repository:
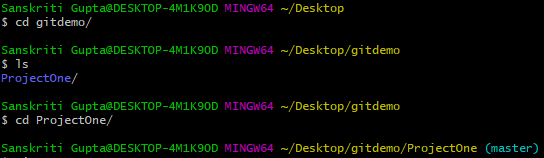 Opened git bash on desktop, used
 cdto get intogitdemodirectory -> usedlsto see contents of directory -> usedcdto get intoProjectOnedirectory.
SO, at this point, we have not configured any Remotes in our local repo. When I run the git remote command, we see no message is displayed.

- Adding a Remote:
A remote is really 2 things: a URL & a label.
So, git remembers this URL by the help of the name/label we give.Command is:
$ git remote add <name> <URL>
The standard name is 'origin'. It is just a conventional Git remote name, but it is not at all special. It is just a name for a URL. We can give any name to it.
So, if you were following along the blog, you must have made your own empty GitHub repo. Just copy that Repo's URL.
 Now we'll ad a remote:

- Here we used
git remote addcommand to add the URL of our GitHub's repo to our existing repo on local machine and assigned it the name - "origin". - Now when we run
git remote -vcommand it shows us the GitHub repo's URL we added.
Now we'll push our local repo to "origin"(just a name given to that URL)
Step-3: Push up your changes to GitHub.
To do this we use git push command. Here we need to specify the remote we want to push up to AND the specific local branch we want to push up to that remote.
$ git push <remote> <branch>
As I mentioned earlier, GitHub decided to rename its default branch to "main" instead of "master". We will also do this via command:
$ git branch -M main

Now, we'll finally push our changes to GitHub:
$ git push origin main
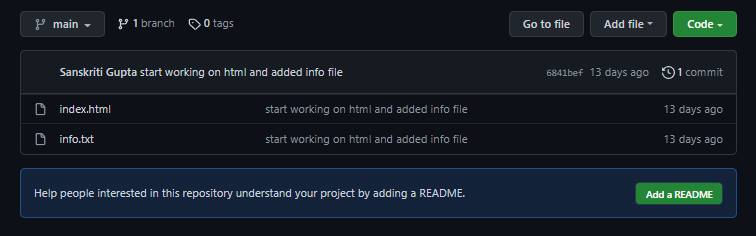 We can see the changes are added to our GitHub repo's main branch including the "commit messages" as well.
Checkout the repository here
We can see the changes are added to our GitHub repo's main branch including the "commit messages" as well.
Checkout the repository here
Option 2: Start from Scratch
If we haven't begun work on our repository on our local machine, these are the steps to follow:
Step-1: Create a brand new repo on GitHub.
Follow Step-1 of Option-1 above as it is & create a repo on GitHub.
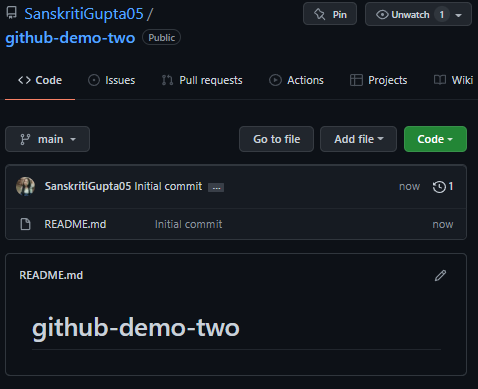 I've made the repo named
 github-demo-two & added a Readme.md file as well this time.
Step-2: Clone it down to your machine
Now we'll open git bash, and make a new directory in which we want to clone our GitHub repo.
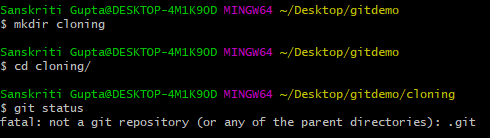 Inside the
 gitdemo directory I created another directory named cloning and clone the GitHub repo in it. We can see that it is NOT a git repository, yet.
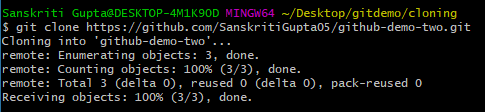 Cloned the repository
 github-demo-two in this dir.
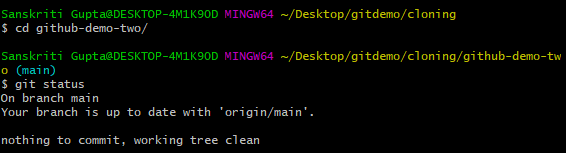 Now, when I got into
 github-demo-two dir, it now shows as a git repository.
Step-3: Do some work locally
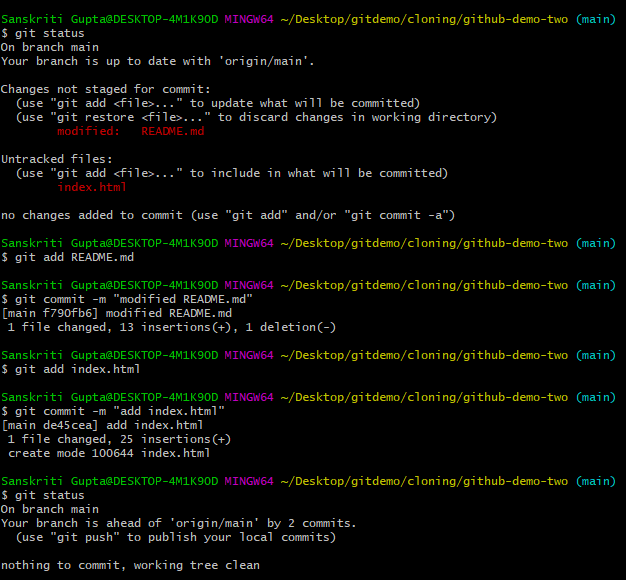 As you can see,
- I modified
README.mdfile & created and added changes toindex.htmlfile. - Then, committed the changes as well.
Let's push these changes onto the GitHub repo!
Step-4: Push up your changes to GitHub
After running git status we can see the message
Your branch is ahead of 'origin/main' by 2 commits.
which means we are currently on the main branch and our remote is origin
Pushing changes to GitHub!
$ git push origin main
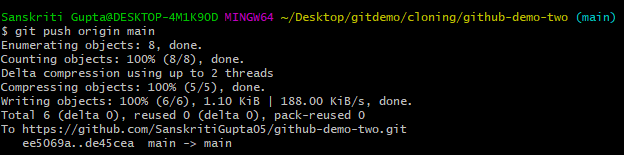
Now, we can see all the changes with commit messages on GitHub as well!
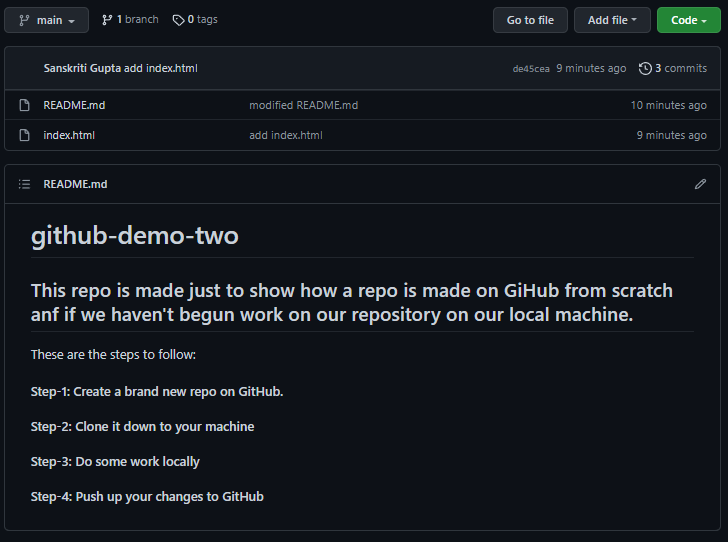
Checkout the repository here
Congratulations!! We've successfully made our first GitHub repository and learned how to push all the changes there. 🥳🥳🥳
I hope this Blog didn't make any reader feel overwhelmed. Making a GitHub repo is our first step towards making several Opensource contributions & other important things which includes displaying your Projects while you're learning, doing collaborations, working on side-projects and much more! ✨
Keep pushing your code to GitHub & keep making contributions to the community. Be proud of how far you've come. Best wishes! 😊🙌


